
Last updated August 26, 2026
Free on-site gate assessment - hinges, posts, and your LiftMaster or Nice gate operator checked before anything is quoted
The assessment is free and the quote is the invoice.
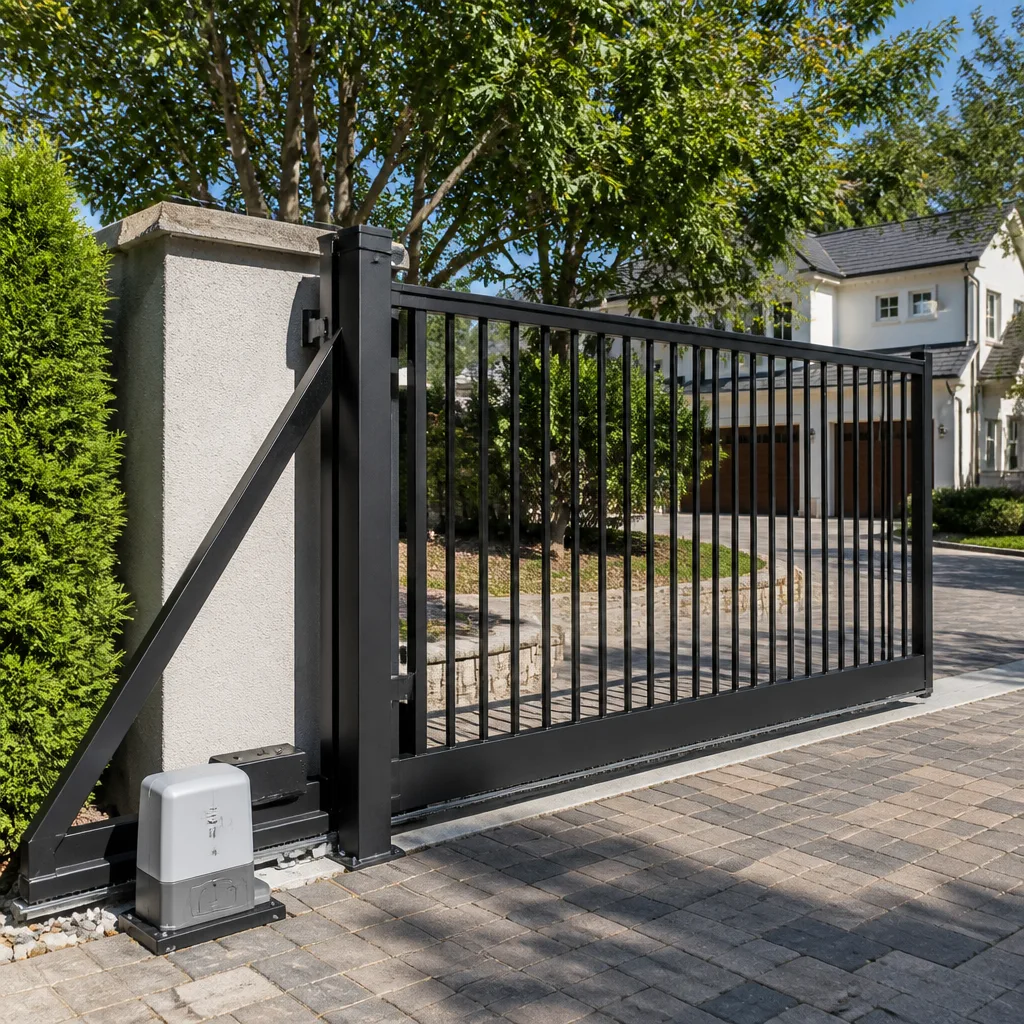
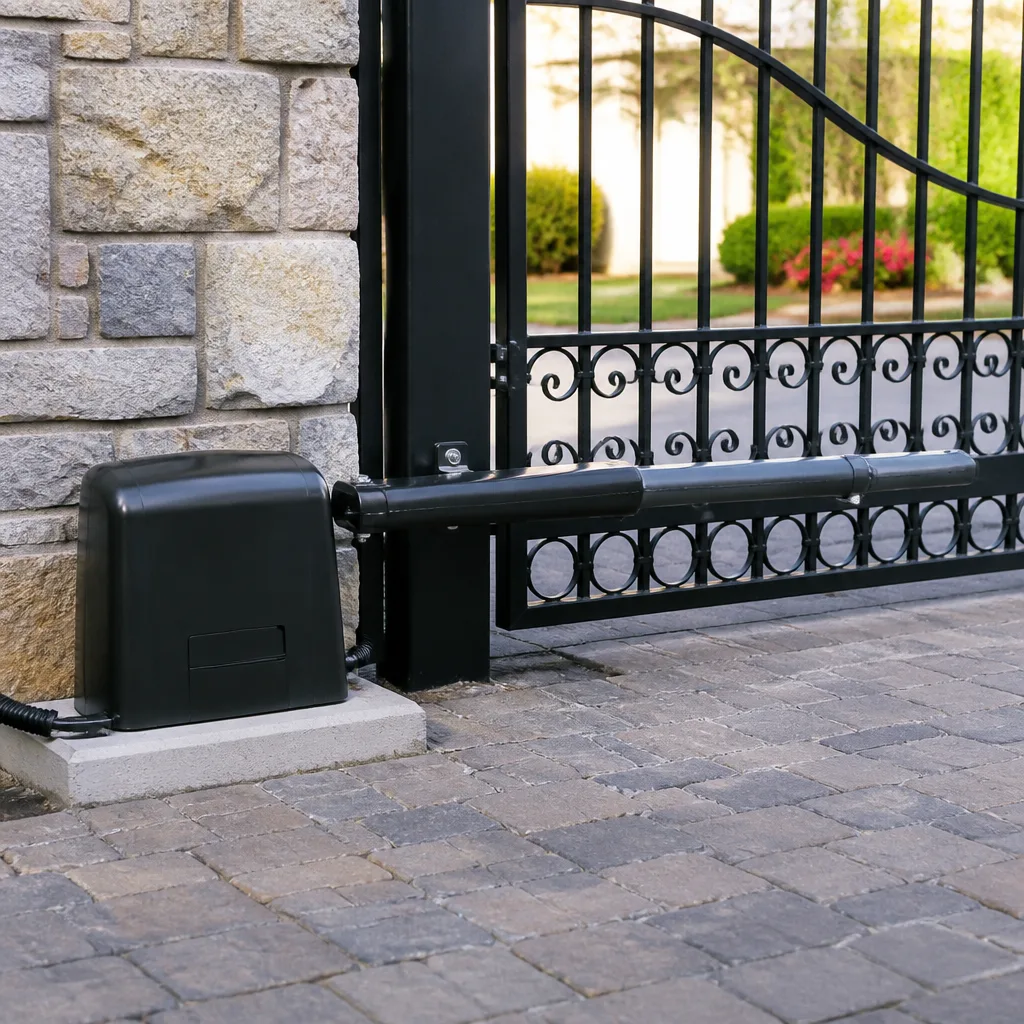
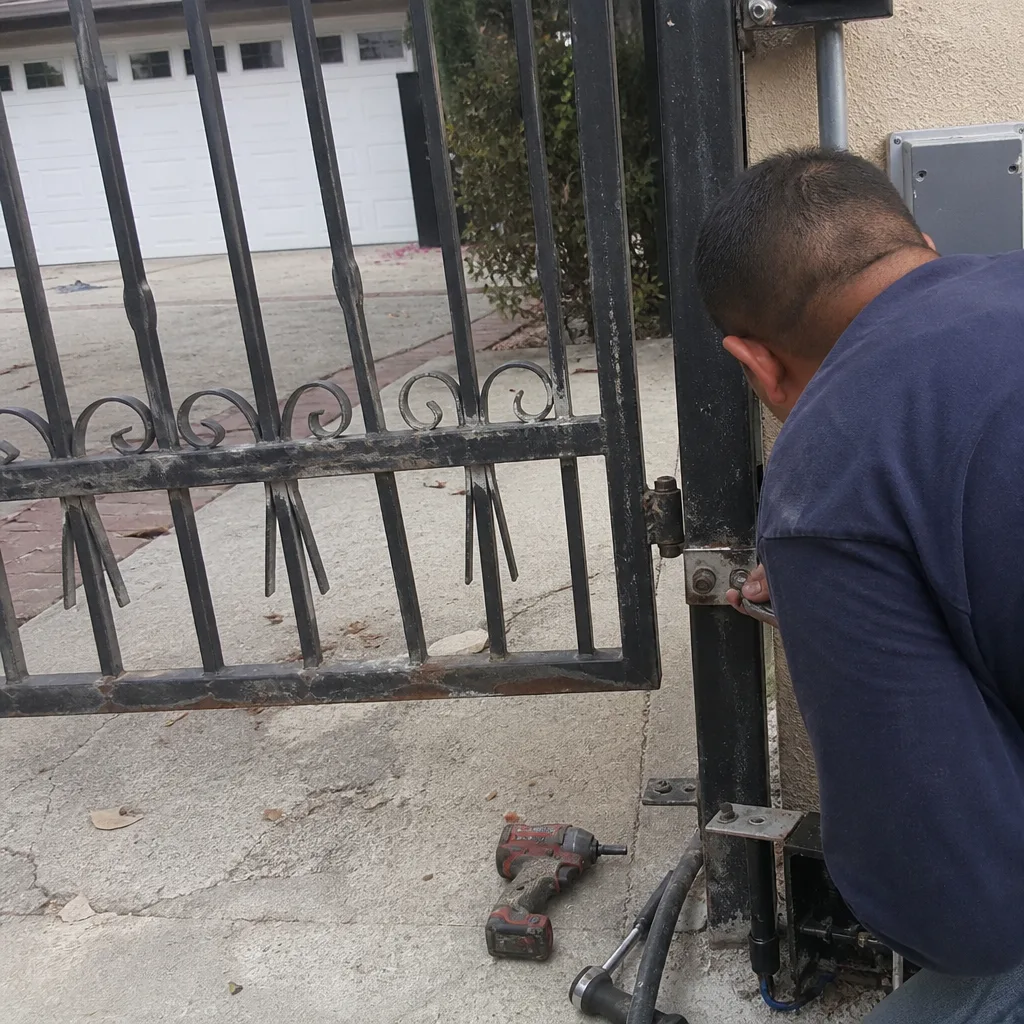 Before
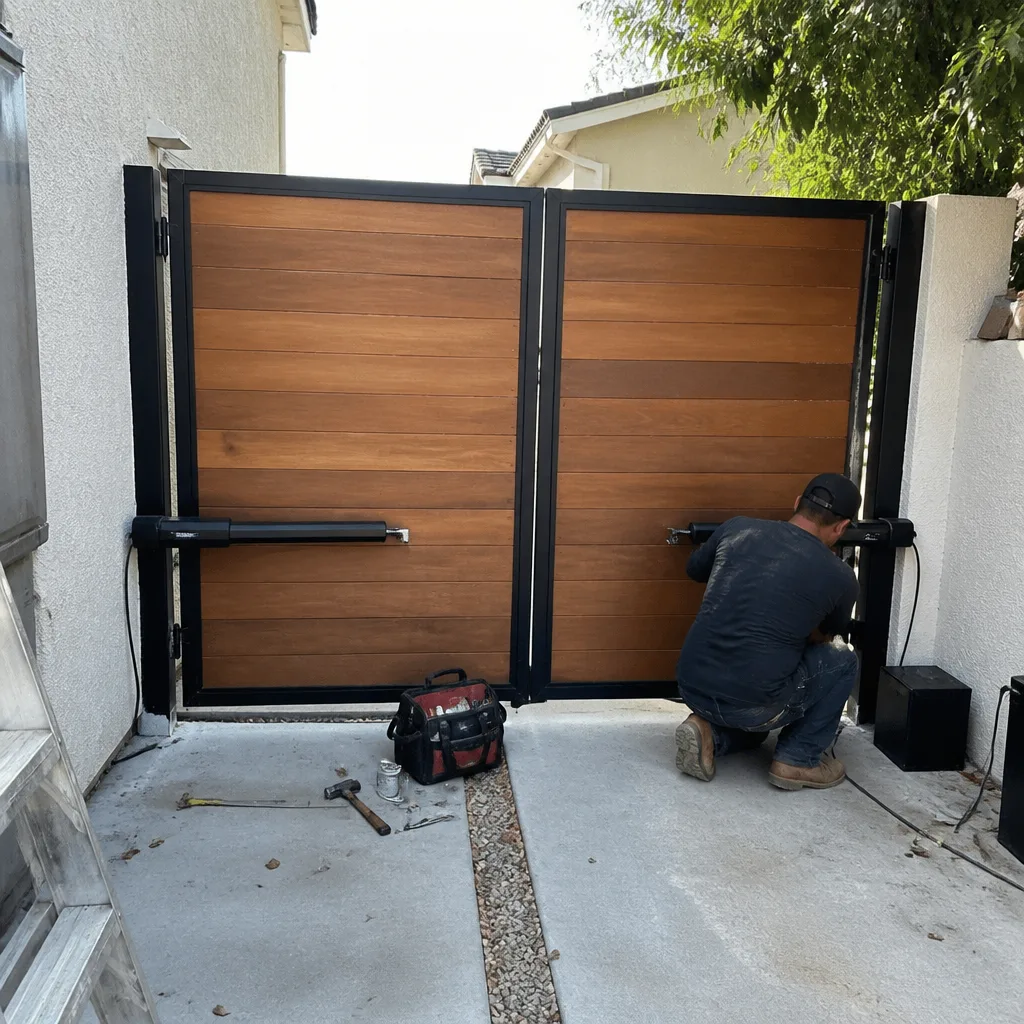 After
After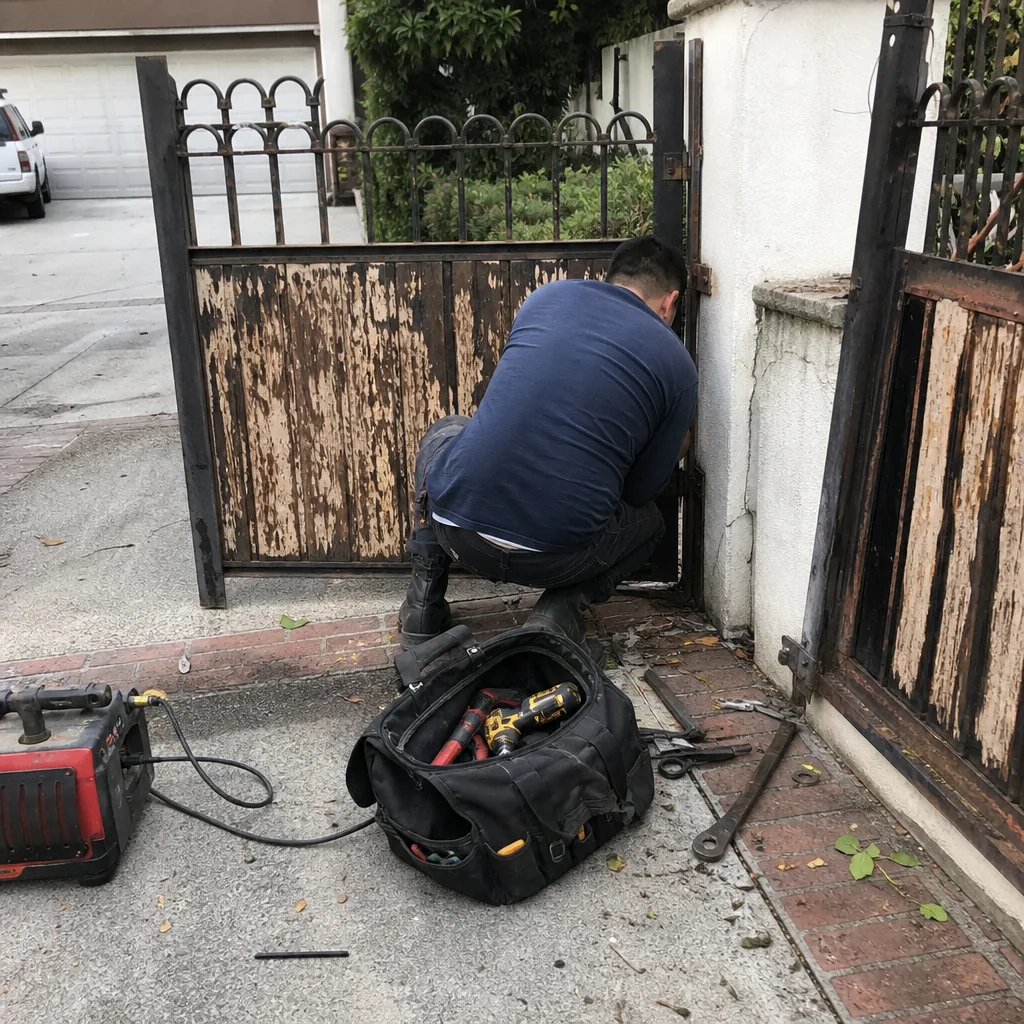 Before
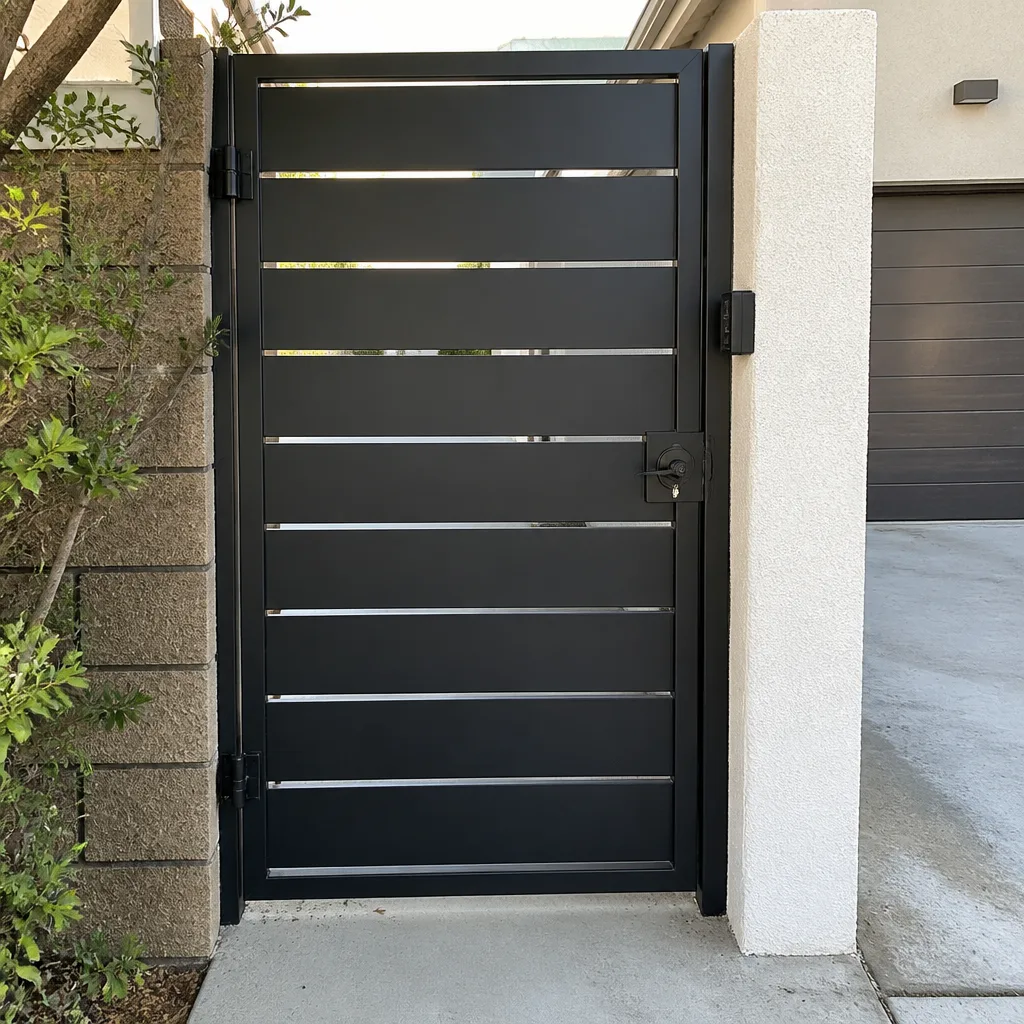 After
After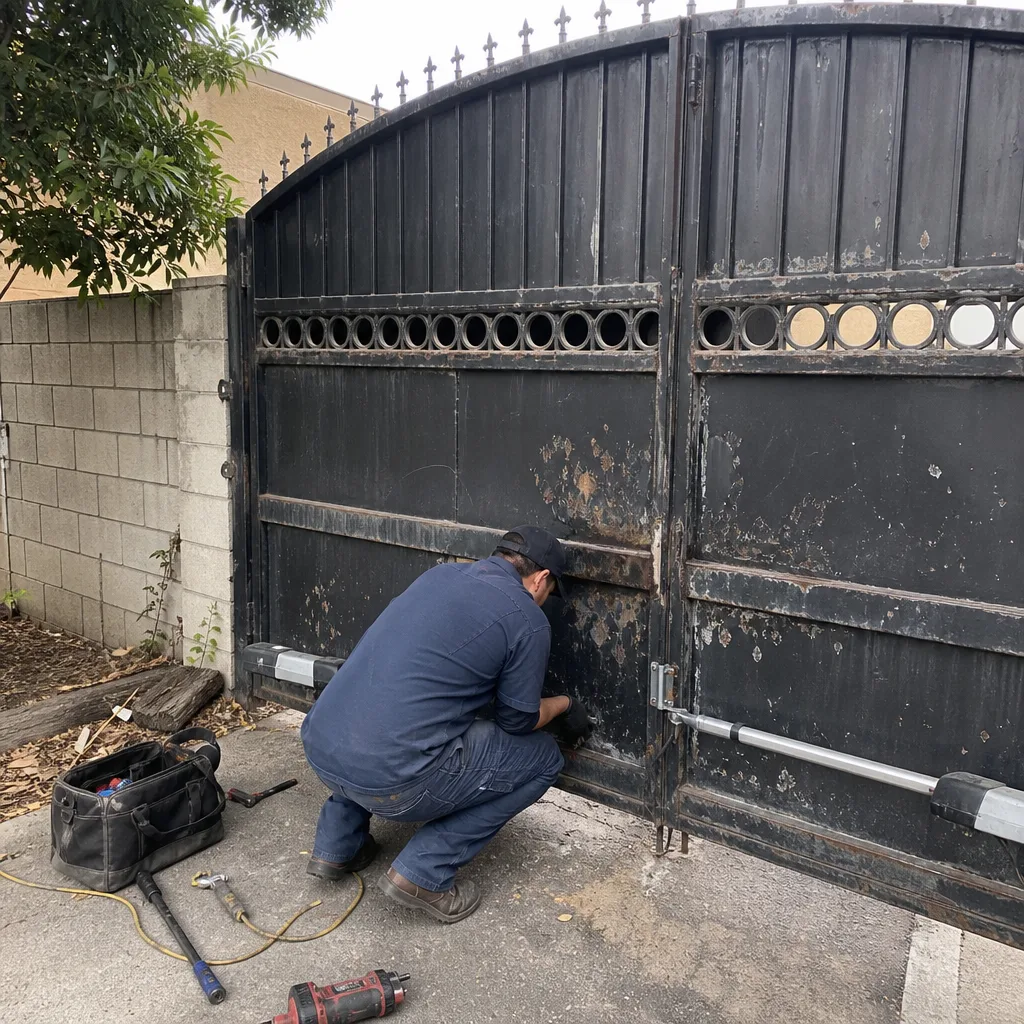 Before
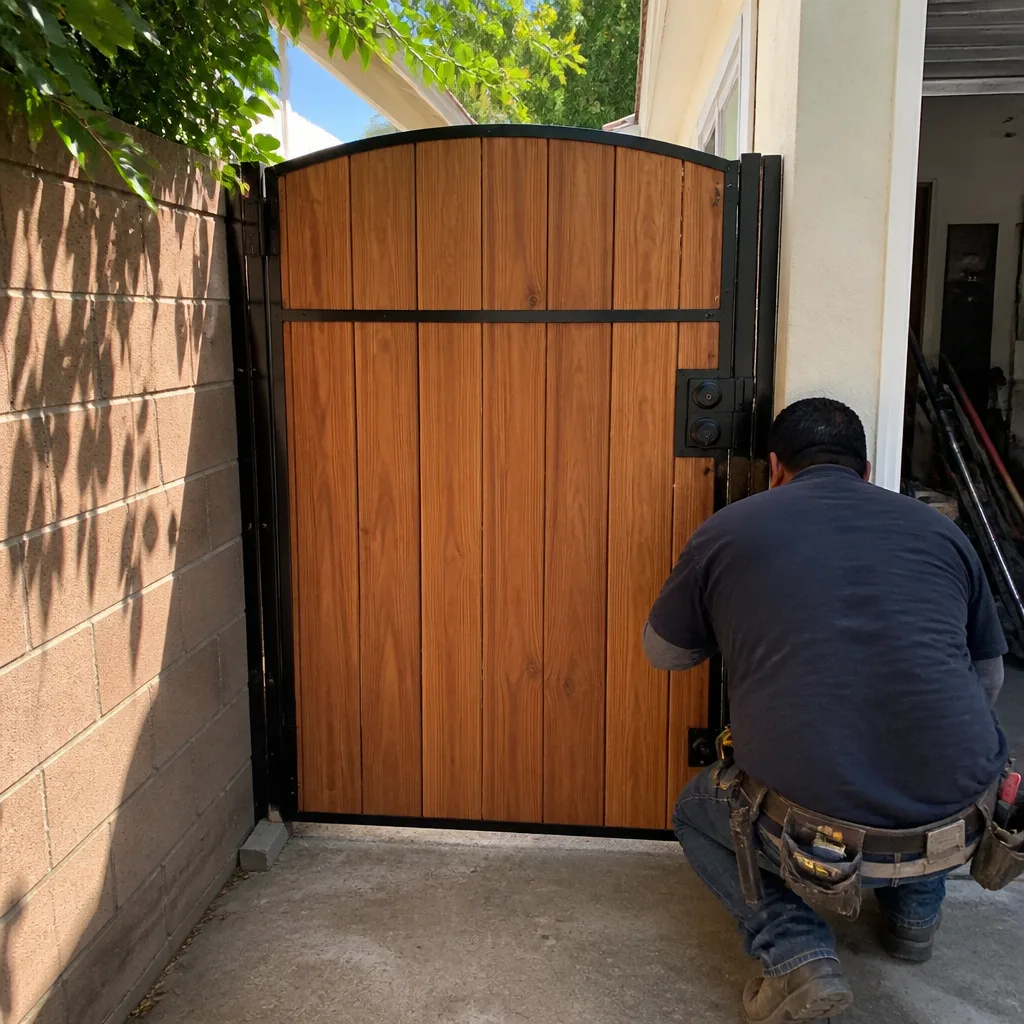 After
AfterDIY vs Professional Gate Repair: The Sherman Oaks Homeowner’s Decision Guide
About once a month, I get a call from a Sherman Oaks homeowner who adjusted their automatic gate’s limit switches themselves, got the gate working again, and then watched it close on a car bumper, a trash can, or worse. Here’s the part most YouTube videos won’t tell you: on most residential operators, limit switch calibration also controls the pressure-reversal sensitivity. Get the limits wrong and you’ve just disabled the one safety system that keeps a 400-pound gate from crushing whatever’s in its path. This guide-along with our Gate Repair Maintenance Checklist for Sherman Oaks Homeowners-is my honest attempt to draw the line between what a capable homeowner in Sherman Oaks can safely handle, and what should never be touched without proper training, tools, and liability coverage. You’ll learn which repairs are genuinely fine for DIY, which ones only look fine, and how to know the difference before you start turning wrenches.
Quick Answer
Manual gate repairs like tightening hinge bolts, replacing a latch, or treating wood rot are generally safe for a handy Sherman Oaks homeowner with basic tools. Automatic gate repairs involving motors, limit switches, entrapment sensors, or post footings are not a DIY job: they carry real risk of injury, void warranties, and can cost two to three times more to undo than the original repair would have cost. That’s why many homeowners rely on professional Gate Repair services for anything beyond basic maintenance. The dividing line is simple: if electricity, tensioned springs, or a gate weighing more than 200 pounds is involved, call a professional who carries liability insurance.
Table of Contents
- The Repairs That Are Genuinely Fine for DIY
- The Repairs That Look Simple and Aren’t
- The Hidden Cost of a DIY Repair Gone Wrong
- How Your Gate Type Changes the Calculus
- When You Realize Mid-Job It’s Beyond You
- Sherman Oaks Specifics: Climate, Code, and Common Failures
- Common Mistakes to Avoid
- When to Call a Professional
- Frequently Asked Questions
- The Bottom Line
The Repairs That Are Genuinely Fine for DIY
Not every gate problem needs a phone call. I’ve been repairing gates in Sherman Oaks since 2001, and I’ll be the first to tell you that some fixes are perfectly reasonable for a homeowner who owns a socket set and doesn’t mind getting dirty. The key is knowing what you’re actually working with.
Tightening Loose Hardware
The most common gate complaint in Sherman Oaks is a sagging or rattling gate, and more often than not, the fix starts with a wrench, not a welder. Gate hinges, latch plates, and post brackets loosen over time, especially on wood gates that expand and contract with our dry summers and occasional winter rain. If your gate still opens and closes but visibly sags or rattles, check every bolt and lag screw before assuming something’s bent or broken. A ¾-inch socket and a tube of thread-locking compound solves a surprising number of problems. What it won’t solve is a hinge post that’s pulling out of the ground or rotted at the base. That’s when a sag is structural, not mechanical.
Replacing a Manual Gate Latch or Handle
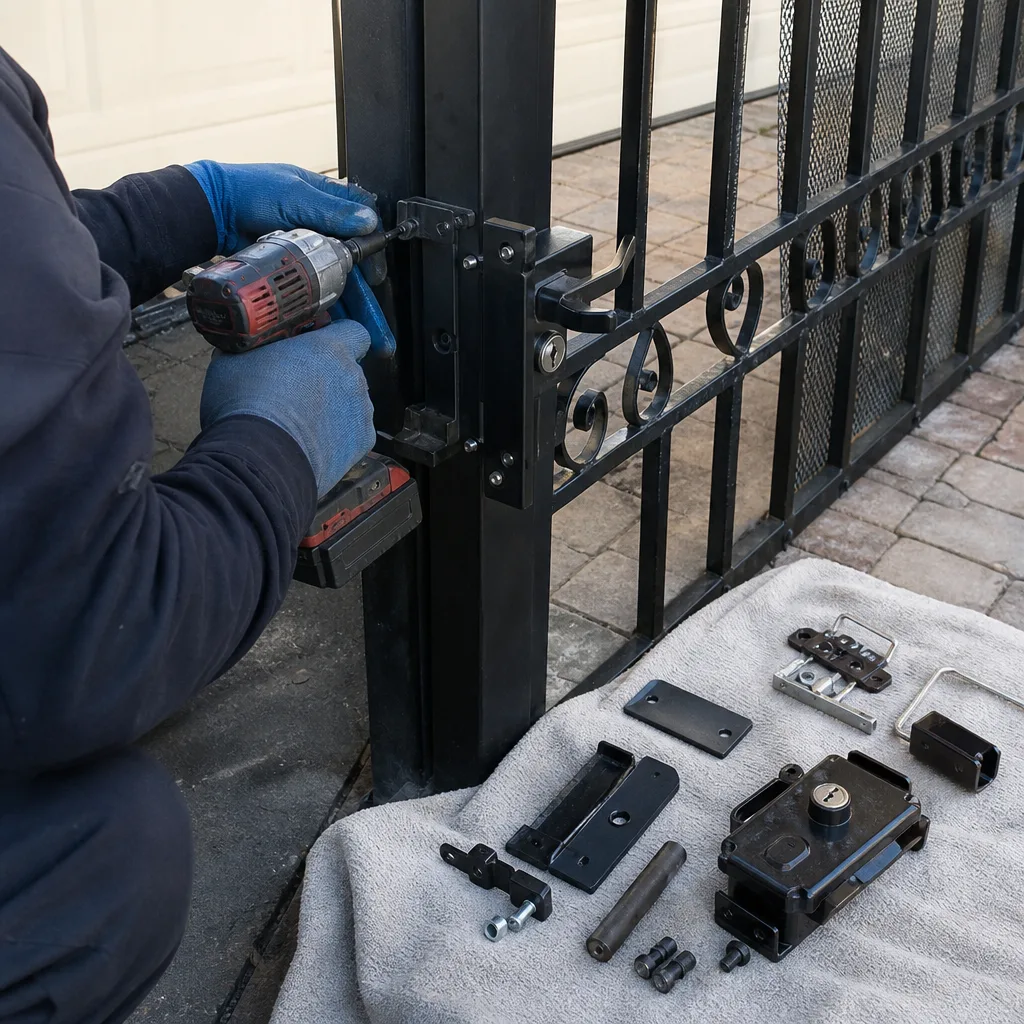
Manual latch replacement is about as straightforward as gate work gets. The latch is generally mounted with two to four bolts, and replacements are common at any hardware store in Sherman Oaks. You’ll need a drill or impact driver, a tape measure to center the new latch in the existing holes, and about an hour. This is a legitimate DIY job for anyone comfortable with simple hardware swaps. One note from experience: buy a latch rated for outdoor use in our valley climate. The cheap zinc ones at big-box stores corrode within two years, and you’ll be doing this job again sooner than you’d like.
Treating Surface Rust on Iron Gates
An iron gate with surface rust can absolutely be steel-brushed, primed, and repainted by a homeowner. The work is tedious, not dangerous. Use a wire brush or an angle grinder with a wire wheel to strip rust down to bare metal, then apply a rust-inhibiting primer and two coats of exterior metal paint. Sherman Oaks’s dry air means you can paint most months of the year without worrying about flash rusting from humidity. The important line here: surface rust is fine for DIY. Structural rust that’s pitted, flaking in layers, or concentrated at weld joints is not. If a screwdriver pushes through the metal anywhere, that’s a fabrication job, not a painting job.
Replacing Wheels on a Sliding Gate (Non-Motorized)
Manual sliding gates ride on a pair of steel wheels running along a track. When a wheel wears out, the gate scrapes, binds, or leans. Removing the gate from its track to replace a wheel requires a floor jack, some blocking, and a strong helper, because even a modest 12-foot iron gate weighs north of 150 pounds. If you can safely support the gate, the actual wheel swap is simple: two bolts per wheel, pop the old one out, slide the new one in, set the gate back down, and adjust the guide rollers. This is a weekend job for a capable DIYer. It becomes a professional job the moment a motor enters the picture, because wheel height directly affects how the operator’s gear or chain drive engages.
The Repairs That Look Simple and Aren’t
This is the section that keeps me in business, honestly. These are the repairs that a sharp homeowner looks at and thinks, “I can handle that.” And sometimes they can, once. And then the gate closes on a child’s bicycle, or the operator burns out in three months, or the post starts leaning and they don’t know why.
Adjusting Limit Switches and Force Settings on Automatic Operators
Back to that phone call I mentioned at the top. The limit switches on a residential gate operator tell the motor when to stop opening and when to stop closing. That’s the simple part. The complication is that on most brands, including Ghost Controls and Mighty Mule, the limit switch assembly and the obstruction-sensing trigger are intimately connected. Adjust the close limit by a half-turn too far and the gate now thinks it’s reached the end of its travel before it actually has. The operator treats that resistance not as “stop now” but as “obstruction detected” and shuts down the safety reversal. The gate closes with full force. This is not a theoretical risk. I’ve seen the aftermath. If your automatic gate is stopping short, reversing unexpectedly, or failing to close fully, the repair is a service call, not a screwdriver job.
Weld Repairs on Steel or Iron Gates
Welding has a low barrier to entry and a high barrier to doing it correctly. I’ve been welding on site since 2001, and I’ve spent a lot of that time cutting out bad welds that looked fine on the surface. A cold weld or a weld with insufficient penetration will hold the gate together until the day it doesn’t. Gates are dynamic loads, not static ones. Every open and close cycle flexes the frame, the hinges, and every single weld joint. If you don’t own a proper welder, know how to set heat and wire speed for the metal thickness you’re working with, and understand how to prep a joint, you’re gambling with a structure that weighs hundreds of pounds and sits over a driveway where your car, your kids, and your delivery drivers all pass. In Sherman Oaks, where most gates are custom-built to fit the property, original fabrication specs vary wildly. A gate built in 1995 might be 14-gauge steel. A gate built last year might be 11-gauge. The welding approach is different for each.
Post Footing and Hinge Post Repair
The hinge post is the foundation of the entire gate. I tell every customer the same thing: a gate sags in the hinge post, not in the middle, and that is where we start. When a Sherman Oaks hinge post starts pulling out of the ground or the concrete footing crumbles, the correct repair is excavation, re-leveling, and re-pouring a footing with the post anchored properly. That’s a job that requires digging equipment, concrete forms, a level, and the patience to let the footing cure before rehanging the gate. Do it wrong and you’ll be back out there next season. Fix the panel without the post and you’ll fix it twice. I’ve seen homeowners pour a new footing and remount the gate on the same day, and the gate sat crooked within a month because the concrete hadn’t reached full strength. That’s a grade of mistake a professional just doesn’t make, because we’ve seen it happen too many times.
Motor or Control Board Replacement on an Automatic Gate
Replacing a gate motor or a control board looks like a plug-and-play job if you’re looking at the parts diagram. It’s not, because modern operators are wired into entrapment protection systems that have legal and safety implications under UL 325, the federal standard for automated gate safety. Photoelectric sensors, pressure-reversal systems, edge sensors, and audible alarms all have to be connected and tested in a specific sequence after any operator work. Skip a step and you might have a gate that opens fine but closes with no obstruction sensing at all. Skip another and you’ve got a motor that runs hot because the open-limit setting is off. We service DoorKing, Elite, and every other major residential operator brand, and I can tell you that no two models calibrate the same way. This is one of those categories where the part might cost $200 but the knowledge costs years.
The Hidden Cost of a DIY Repair Gone Wrong
I don’t use scare tactics, because I respect my customers enough to give it to them straight. Here’s the straight version: a DIY gate repair that goes wrong costs more than the original repair would have. Every time. Here are the three scenarios I actually see in Sherman Oaks, not the hypothetical ones from an insurance seminar.
Scenario One: The Misadjusted Operator
You adjust your own limit switches. The gate seems to work. Two weeks later, the motor burns out because the gate was running against the stop for three seconds every cycle instead of zero seconds. That’s heat, that’s amperage, that’s a cooked control board. The $0 DIY adjustment just became a $900 operator replacement. If you’d called a professional for the limit switch adjustment, you’d have paid a service call and been done with it. Now you’re replacing the whole unit.
Scenario Two: The Structural Patch Job
You weld or bolt a reinforcement plate over a cracked gate frame. The gate holds for six months. Then the crack spreads because the underlying joint was never properly ground out and re-welded. Now the original crack is longer, the patch plate has to be cut off, and the repair costs more than the original weld would have. I see this on iron gates in the Sherman Oaks hills all the time, where gates are long, heavy, and subjected to more flex than flat-lot gates.
Scenario Three: The Post That Keeps Moving
You re-set a leaning hinge post without addressing the drainage issue that caused the rot or the soil movement that caused the lean in the first place. The post sinks again within a season. You now have a gate that’s been re-hung twice on a compromised footing, and the post hole is wallowed out from the movement. The professional repair now requires a larger footing, more concrete, and more labor than if it had been done correctly the first time. We see this in older Sherman Oaks neighborhoods where original gate and fence footings were poured shallow and never reinforced.
None of this requires exaggeration. The math is simple: a professional repair corrects the underlying cause. A DIY repair often only corrects the symptom. The symptom returns, and the underlying cause is now worse.
How Your Gate Type Changes the Calculus
Not all gates are created equal, and the DIY decision should start with what kind of gate you actually have. This is where most generic internet advice falls apart.
Manual Wood Swing Gate
This is the friendliest gate for a DIYer in Sherman Oaks. The components are simple: hinges, a latch, wood panels, maybe a diagonal brace. The gate is relatively light, especially if it’s a single leaf under 6 feet. A homeowner who can use a circular saw, a drill, and a level can genuinely handle hinge replacement, panel replacement, and hardware upgrades. The risks are low, assuming the gate is properly supported while you work. If the post is solid and you’re just replacing the wooden pieces, go ahead. If the wood is rotted because the gate sits in sprinkler overspray, fix the sprinkler head while you’re at it or you’ll be doing this again in three years.
Motorized Iron Sliding Gate
Completely different animal. An iron sliding gate is heavy, it rides on a track, and it’s driven by a motor that has to be precisely aligned with the gate’s drive rail or chain. If a wheel wears out and the gate drops a quarter inch, the motor starts working harder. A homeowner replacing a wheel can set the gate back down slightly off-level and not even notice until the operator starts tripping overload sensors every third cycle. Then the “wheel replacement” becomes an operator diagnosis, which is an entirely different repair. We work on Ghost Controls, Viking, Linear, and every other operator that’s common in Sherman Oaks, and the running theme is the same: the operator doesn’t tolerate sloppy mechanical work. If your motorized gate is binding, scraping, or running rough, the mechanical fix needs to be dead-on accurate.
Motorized Wood Swing Gate
This is the trickiest one, because it combines a relatively lightweight gate with a powered operator, and the operator’s force settings have to be tuned for the gate’s actual weight. Wood gates in Sherman Oaks absorb moisture in the winter and dry out in the summer, which means the gate’s weight and drag profile changes with the seasons. An operator that worked perfectly in August might be fighting a slightly swollen gate in February. The DIY trap here is cranking up the force setting to compensate for a binding hinge instead of fixing the hinge. Now the gate closes harder than it should, and if the obstruction sensor isn’t perfectly calibrated, you’ve got a safety issue disguised as a convenience fix. If your wood gate has an operator, involve a professional for anything involving the motor, the force settings, or the hinge geometry.
When You Realize Mid-Job It’s Beyond You
Nobody wants to admit they’re in over their head. But from where I sit, the homeowner who calls me halfway through a repair with an honest “here’s what I did, here’s where I’m stuck” is a pleasure to work with. The homeowner who finishes a bad repair and then calls me two months later has a bigger problem. Here’s how to hand off a half-finished job the right way.
Step One: Stop and Document
Take photos of everything before you do anything else. Photos of the gate, the operator, the wiring you’ve disconnected, the parts you’ve removed. Lay the removed parts out in order and photograph them too. This takes three minutes and saves the professional real time during diagnosis.
Step Two: Reassemble What You Can
If you removed a cover, put it back. If you disconnected wires, leave them disconnected but clearly labeled if you’re confident about which went where. If you’re not confident, leave everything exactly as it is. A professional would rather see raw wires than wrong connections.
Step Three: Be Honest About What You Did
When the pro shows up, tell them exactly what you adjusted, replaced, or forced. We’re not here to judge. We’re here to get your gate working right, and knowing that you”adjusted the limit screws three turns clockwise” saves diagnosis time and helps us understand what the operator has been through. If you stripped a screw, say so. If you tried to weld it and the weld failed, say so. The information is more valuable than your pride, and I can promise you we’ve seen worse.
For what it’s worth, we offer a free second opinion on any written estimate, and that extends to situations where a homeowner has started work and gotten stuck. You can call the shop at (818) 873-5061, tell my crew what’s going on, and get straight advice on whether it’s worth continuing or handing off. That’s part of being a local Sherman Oaks shop: we answer the phone and we answer questions.
Sherman Oaks Specifics: Climate, Code, and Common Failures
Sherman Oaks has its own personality when it comes to gates, and knowing the local conditions will make you a smarter DIYer regardless of which path you take.
The Climate Factor
We get roughly 340 days of sun a year and almost no rain between May and October. That’s great for metal: rust moves slowly here compared to coastal communities. But it’s brutal on wood and on anything made of cheap plastic. Wood gates in Sherman Oaks dry out, split, and pull away from their hinges. Cheap composite gate hardware gets brittle in the summer heat. If you’re doing your own wood gate repair, use stainless or hot-dipped galvanized hardware. The extra cost is real, but the replacement cycle is two to three times longer than zinc-plated hardware in this climate.
The Seismic and Soil Factor
Sherman Oaks sits in a seismically active region where the soil, depending on the exact neighborhood, can range from well-drained alluvium near the boulevard to more expansive clay in the hills south of Ventura Boulevard. What that means for your gate: post footings move. A gate that was perfectly plumb in 2021 may be leaning after a few wet winters and dry summers because the soil expanded and contracted under the footing. This is why post repair in Sherman Oaks often requires a deeper footing than the original. If you’re resetting a post yourself, check the depth of the original footing first. If it’s less than 36 inches for a gate post, you’re going to be doing this again.
The Motor Wear Factor
Automatic gate operators in Sherman Oaks work hard. They open and close multiple times a day in heat, dust, and occasional wind. The most common failure we see is not the motor itself but the electrolytic capacitors on the control board, which are rated for a certain number of heat cycles and simply wear out in our climate. That’s a board-level repair, and it’s not DIY territory for anyone without electronics training. If your operator has power but won’t start, or starts slowly, or trips its breaker intermittently, you’re probably looking at exactly this failure. Call rather than guess.
Common Mistakes to Avoid
- Adjusting limit switches without understanding entrapment protection. This is the number one DIY mistake I see in Sherman Oaks, and it’s the one with the most serious consequences. Limit switches and obstruction sensitivity are linked on most residential operators. Fix one without testing the other and you’ve disabled a safety system.
- Welding over a crack without grinding it out first. A weld over a crack doesn’t fix the crack. It hides it under a bead that will fail again, usually along the original crack line. Proper repair requires grinding out the crack to sound metal, then welding with proper penetration.
- Re-hanging a gate on a post that hasn’t fully cured. Concrete reaches significant strength within seven days, but full cure takes 28 days. Hanging a 300-pound gate on a wet-footing post guarantees a lean within the first year in Sherman Oaks’s shrink-swell soil.
- Using indoor-rated electrical components on an outdoor gate. That extension cord, that spliced connection, that outlet box you bought for a garage project: none of it belongs on an exterior gate operator. Outdoor-rated, weather-sealed components only, installed with proper conduit and drip loops.
- Replacing a motor without testing the gate itself. If your gate is binding and you replace the motor, the new motor inherits the binding gate. The motor burns out again. Diagnose the mechanical system before replacing the electrical system, or the cycle repeats.
- Ignoring the gate’s own weight during repair. A 16-foot iron gate can weigh over 400 pounds. If it comes off its track or slips off its hinges while you’re working under or near it, that’s a life-changing injury. Support the gate with a floor jack and blocking before removing any hinge pin, wheel, or bracket.
When to Call a Professional
Call a professional if the repair involves any automatic operator component, any weld, any post footing, or any gate you can’t lift by yourself. That’s the honest line. You should also call if the gate is weight-bearing for a driveway on a sloped lot, which is common in the Sherman Oaks hills, where gates sit at the top of inclined driveways and gravity is not your friend during disassembly. And call if the gate is the primary security barrier for your property: a gate that closes on its own but doesn’t latch properly leaves you with a false sense of security that’s worse than an unsecured driveway. Gatewood Fence & Gate offers free estimates in Sherman Oaks, with no trip charge inside the county. We service Gate Repair throughout Sherman Oaks, including motorized operators on automatic gates. My name is on the shop and the shop is down the road. That’s accountability you can actually drive past and check.
If you’ve got a gate problem and you’re not sure which category it falls into, call (818) 873-5061 and describe what you’re seeing. That call costs nothing, and you’ll get a straight answer from a person who actually works on gates, not a script. If the fix is genuinely DIY-appropriate, I’ll tell you that too. That’s how I’ve operated for over 29 years, and it’s why people in Sherman Oaks keep my number pinned to the fridge.
Frequently Asked Questions
Safe DIY gate repairs include tightening loose hinge and latch hardware, replacing a manual gate latch or handle, treating surface rust on an iron gate, and replacing wheels on a non-motorized sliding gate. These jobs require basic hand tools and common sense, not specialized training. Anything involving electricity, welding, or structural post work should be left to a professional.
Gate repair costs in Sherman Oaks vary by the type and extent of the problem. Minor hardware adjustments and latch replacements generally start around $75 to $150 when a professional handles them, while hinge post reconstruction, weld repairs, and operator calibration run higher depending on gate size and materials. We quote every job before we start, and we honor the quote. Call (818) 873-5061 for a free estimate.
No, and this is the single most dangerous DIY gate repair on the list. Limit switch adjustments on automatic operators are connected to the obstruction-sensing system. A misadjusted limit can disable pressure-reversal protection, allowing the gate to close with full force on anything in its path. This adjustment should be made by a trained professional who understands UL 325 safety standards and can test the entire system after making changes.
If the post itself is sound and the footing is intact, reinforcement and re-leveling may be sufficient. If the post is rotted, cracked, or rusted through, or if the footing has crumbled or sunk, the post needs to be reset or replaced with a new footing. In Sherman Oaks’s expansive clay soil, footings that were acceptable when originally poured often need to be deeper and wider when repaired. A visual inspection and a level check will tell you what you’re dealing with.
Stop working, document everything with photos, and reassemble what you can safely without forcing anything. Leave disconnected wires labeled only if you’re confident about their positions; otherwise leave them as-is. When you call a professional, explain exactly what you did and what you observed. Honest information shortens diagnosis time and prevents compounding the original problem. We handle half-finished DIY repairs regularly, and we’ll tell you straight what it’ll take to set it right.
We’re certified to service nine major gate brands, including LiftMaster, DoorKing, Elite, Ghost Controls, Viking, Linear, FAAC, BFT, and Mighty Mule. Whether you have a residential swing gate, a sliding driveway gate, or a commercial-grade operator, we can likely service it. If you’re unsure whether your gate falls within our service range, call (818) 873-5061 and ask. You’ll get a person, not a menu.
The Bottom Line
The line between a safe DIY gate repair and a dangerous one is clear. Manual hardware and cosmetic work on lightweight gates: fine for a capable homeowner with basic tools and a level of patience. Anything with electricity, tension, weight, or footings: not a weekend project. The homeowners I talk to in Sherman Oaks don’t get hurt by the repairs they know they can’t do. They get hurt by the ones they’re sure they can. A limit switch, a hinge post, a weld seam: these look simple from the outside and exact a heavy price when gotten wrong. If you’re ever unsure, call someone who does this for a living or explore our more guides & resources to help decide. The worst case is you get a free estimate and an honest answer. The best case is you avoid the phone call I described at the top of this guide.
Written by Hal Gatewood, Owner at Gatewood Fence & Gate, serving Sherman Oaks since 2001.