
Last updated August 26, 2026
Free on-site gate assessment - hinges, posts, and your LiftMaster or Nice gate operator checked before anything is quoted
The assessment is free and the quote is the invoice.
 Before
 After
After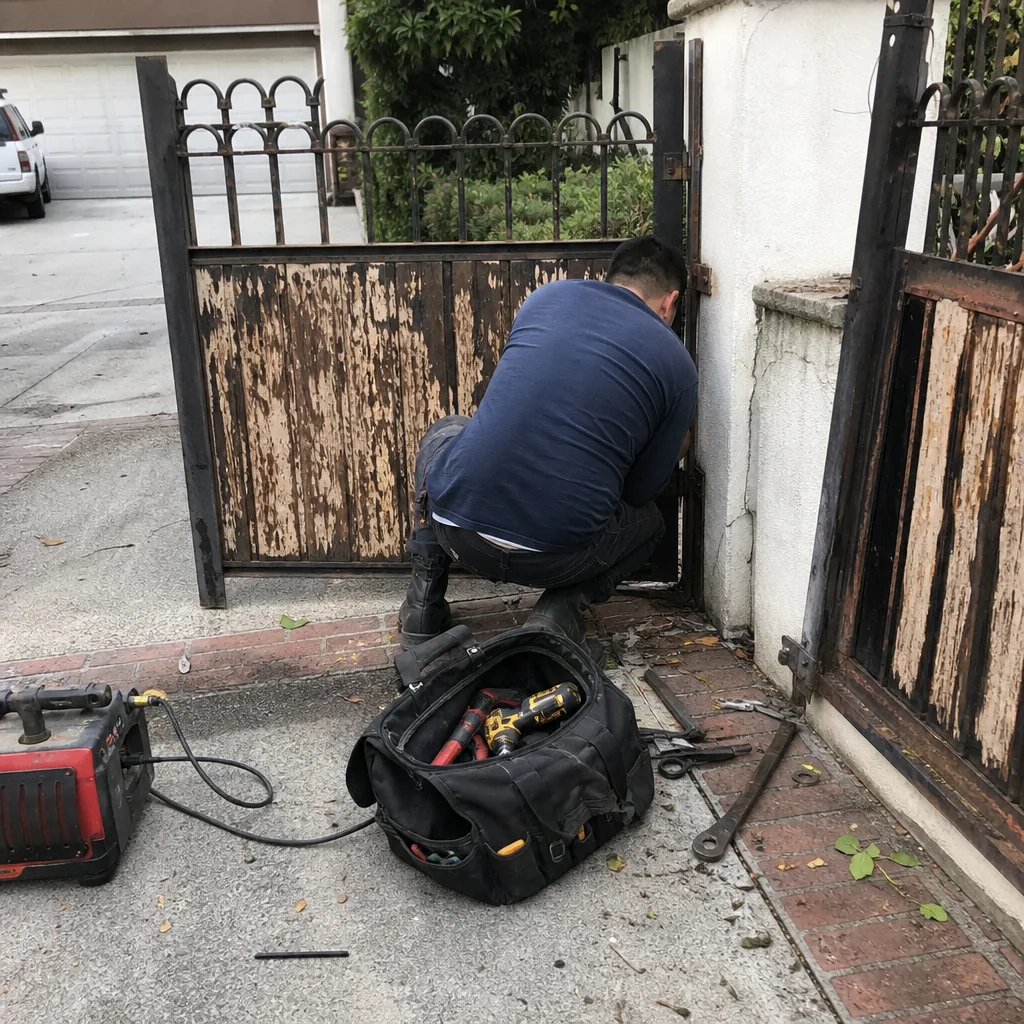 Before
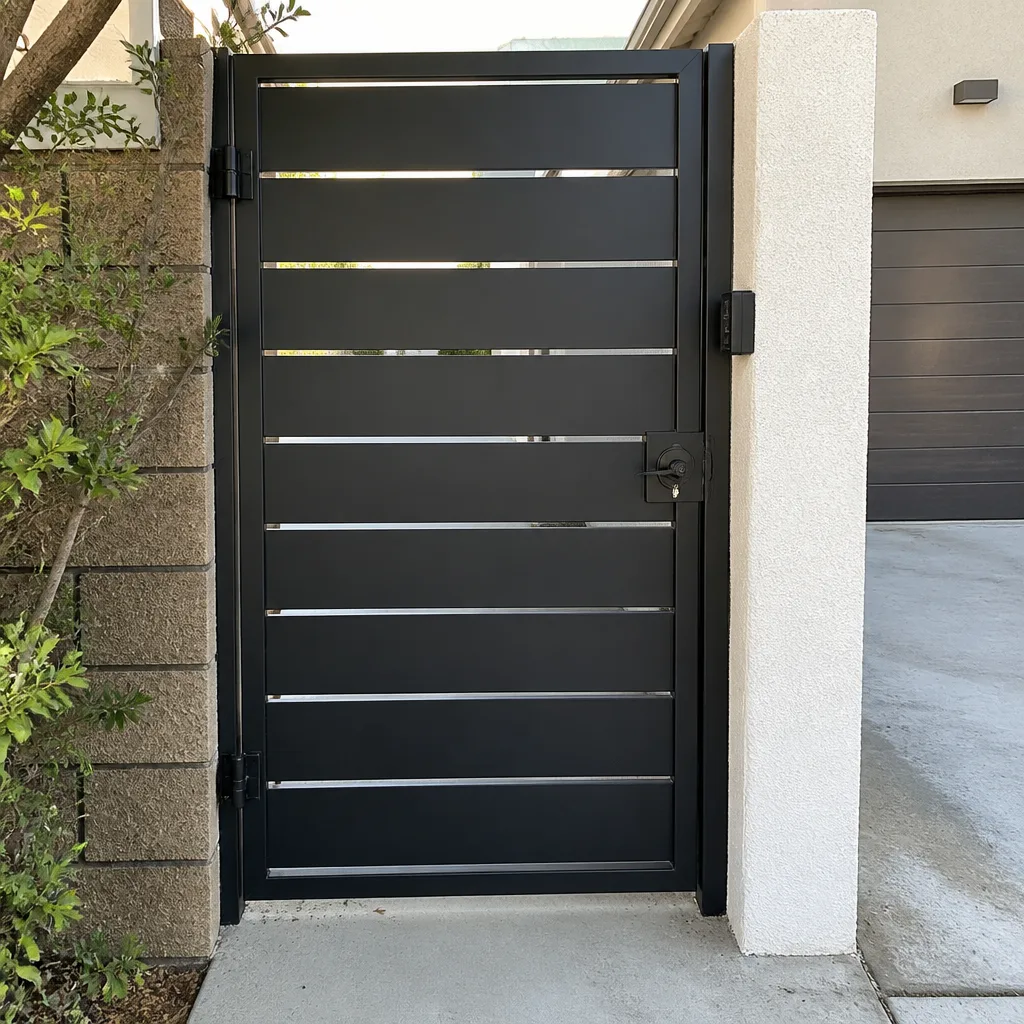 After
After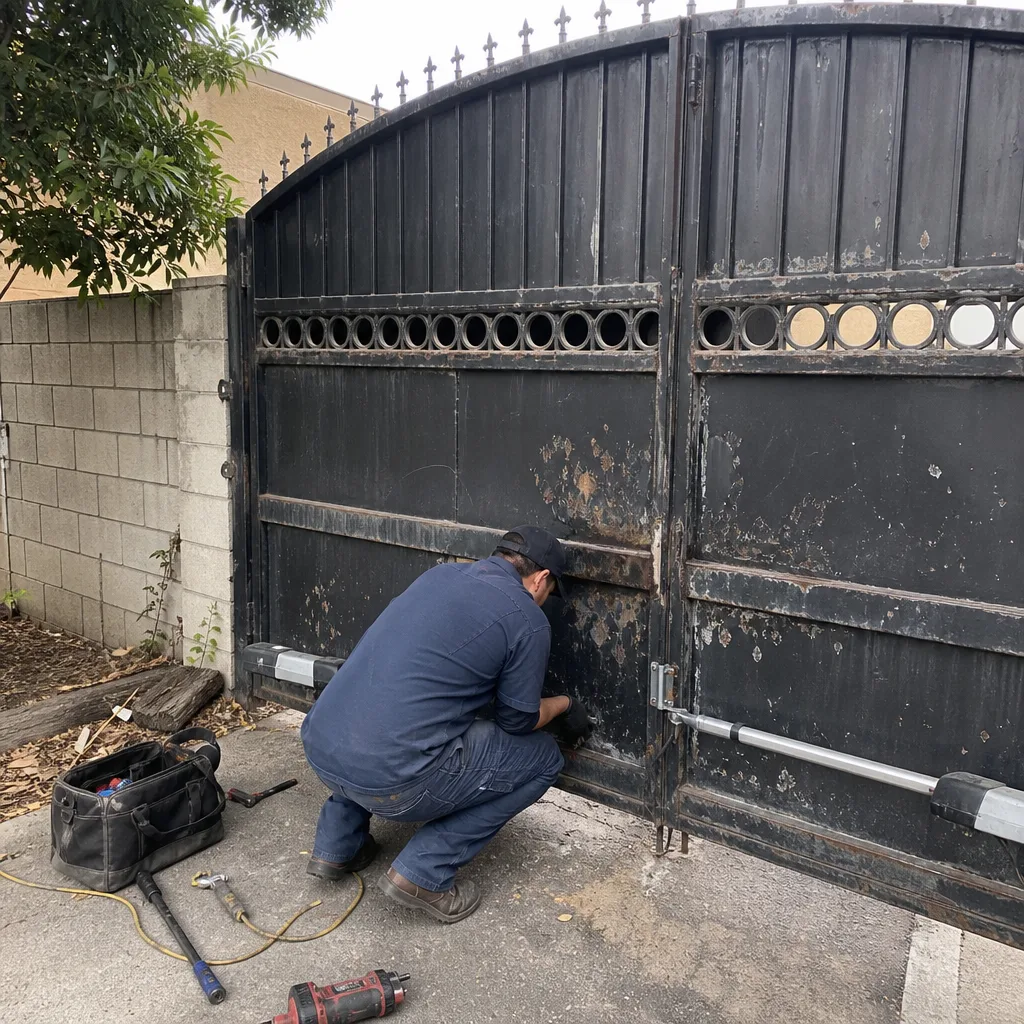 Before
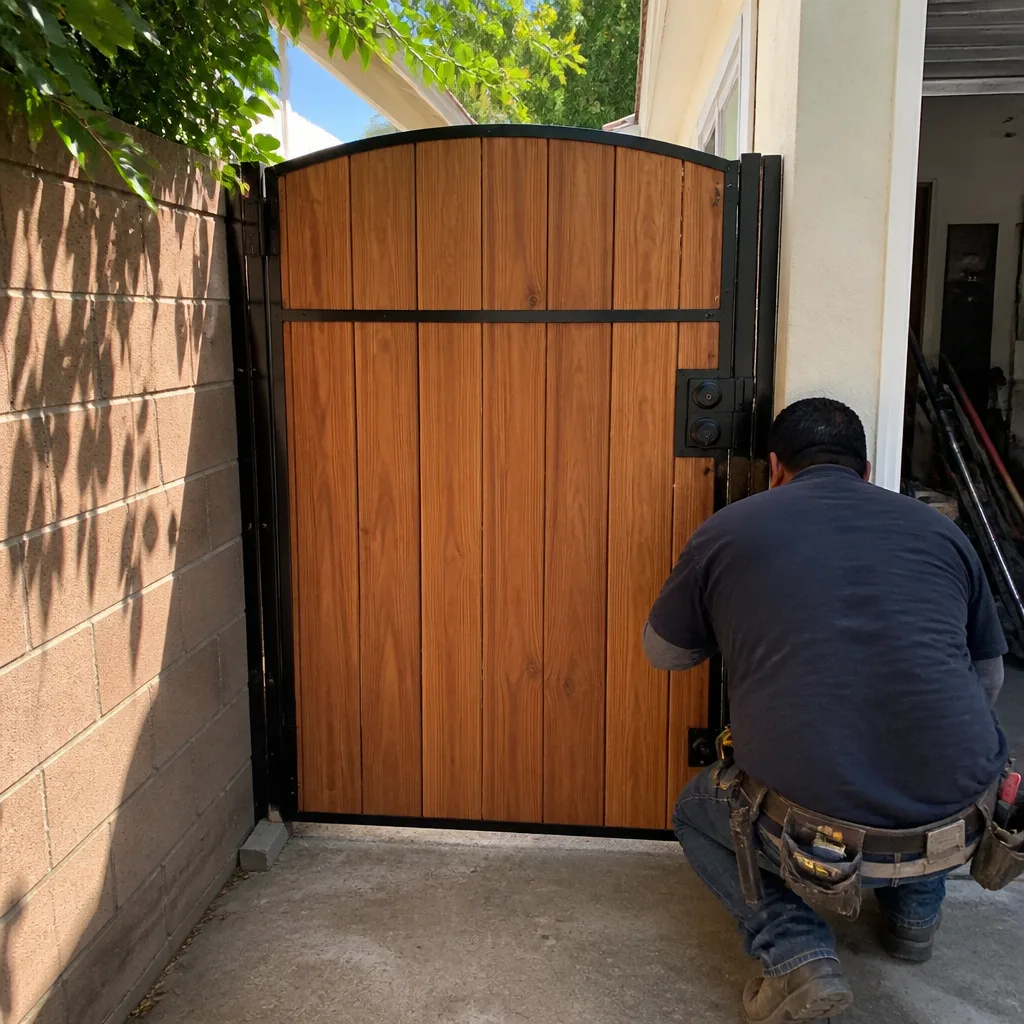 After
AfterGate Repair Maintenance Checklist for Sherman Oaks Homeowners
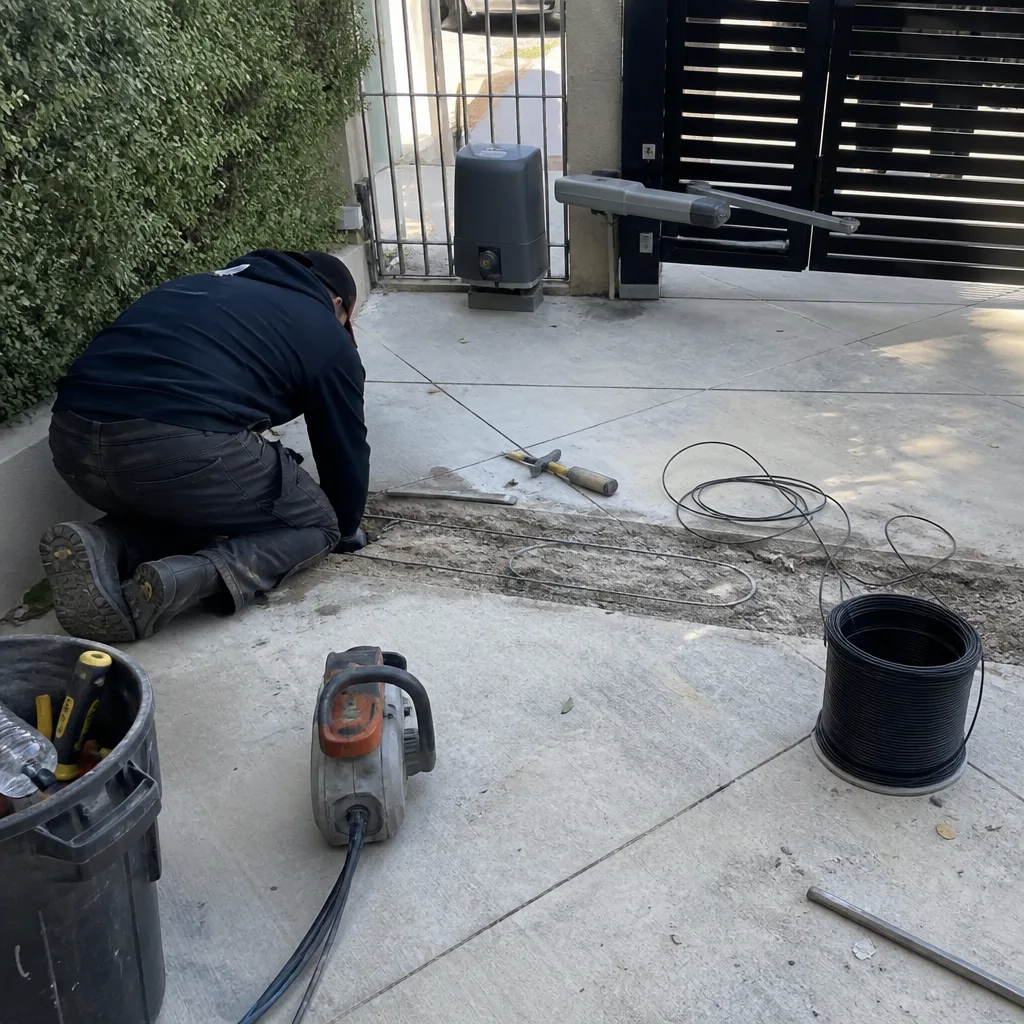
Hal once pulled up to a house in Sherman Oaks where the gate had been dragging on the concrete for so long it had ground a quarter-inch groove into the driveway. The Gate Repair itself was a $340 hinge job. Re-leveling the concrete pad was another $900 that nobody budgeted for. That check could have been written for $340 if someone had caught the sag six months earlier. A gate doesn’t fail overnight. It fails in six small, totally preventable steps that most homeowners walk past every single day. This checklist is built around what Hal actually looks at when he arrives at a job, not a generic manufacturer PDF. A single 20-minute inspection twice a year catches five of those six steps before they become expensive.
This guide is written for Sherman Oaks homeowners specifically, because our wind, our soil, and our gate styles create a particular set of failure points. If you live here, this is your checklist.
Quick Answer
A gate maintenance checklist for Sherman Oaks homeowners should cover eleven physical inspection points: hinge welds, hinge bolts, the latch post, gate wheels, the track (if you have one), motor mounting bolts, safety sensor alignment, limit switch performance, chain or belt tension, lubrication points, and the concrete pad under the gate’s swing path. Run through these twice a year, once in October before the Santa Ana season and once in April, and you will catch most failures before they strand you.
Table of Contents
- The Six Failures Every Gate Goes Through
- The 11-Point Inspection Sequence
- What Sherman Oaks Weather Does to Gate Hardware
- The Four Lubrication Points Most People Skip
- How to Test Automatic Gate Safety Sensors in Under Three Minutes
- The Maintenance Log That Protects You When You Sell
- Common Mistakes to Avoid
- When to Call a Professional
- Frequently Asked Questions
- The Bottom Line
The Six Failures Every Gate Goes Through
In our experience at Gatewood Fence & Gate home, every gate failure in Sherman Oaks follows the same sequence. It starts small and invisible, then it compounds. Here is the progression we see again and again, in order:
- A hinge bolt loosens by a quarter turn. You cannot see it. You cannot hear it. But the gate now carries its weight slightly off-center, and every open and close cycle works that bolt a little looser.
- The gate drops an eighth of an inch. Now the latch no longer lines up perfectly. You have to lift the gate handle slightly to get it to catch. This is the moment when most people first notice something feels off, and it is already step two.
- The gate starts dragging. That eighth-inch drop becomes a quarter-inch. The bottom corner of the gate now scrapes the concrete on every swing. This is the $340 repair that becomes a $900 repair if you let it go.
- The hinge post starts to lean. All that dragging leverage works against the post. The post was set in concrete years ago, but Sherman Oaks soil expands and contracts with our wet winters and dry summers, and the post loses its grip. Now the fix is no longer a bolt, it is post work.
- The motor compensates. If you have an automatic opener, it is now working against resistance it was never designed for. The motor runs hotter, the gear teeth wear faster, and the limit switch starts tripping early or late.
- The weld fails. This is the final step. A weld that held for fifteen years pops because it was carrying a misaligned load for six months. The gate panel drops onto the driveway, or worse, onto a car, or worst of all, near a person.
Every one of the first five steps is catchable with a 20-minute visual and hands-on check. Step six is why we recommend not ignoring step three. A gate sags in the hinge post, not in the middle, and that is where we start. Understanding Gate Repair in Sherman Oaks means understanding this sequence, because the earlier you intervene, the smaller the invoice.
The 11-Point Inspection Sequence
This is the exact sequence Hal runs when he arrives at any gate job, translated into plain language you can replicate without a single tool. Run it top to bottom. It takes 20 minutes once you know what you are looking at.
1. Look at the gate from 20 feet away
Stand back and sight down the top rail. The top edge should be level. Look at the gap between the bottom of the gate and the concrete. The gap should be even from hinge side to latch side. If it narrows at the latch side, the gate is sagging.
2. Grab the gate at the latch corner and lift
Lift straight up. You should feel almost no movement. If you can move the gate up and down even a quarter inch, a hinge bolt is loose or a hinge pin is worn. Both are $20 fixes today and $400 fixes next year.
3. Push and pull the gate sideways at the latch side
The gate should not rock. If it does, the hinge bracket on the post is loose. Tightening that bolt while the post is still solid is the cheapest Gate Repair Warning Signs: A Sherman Oaks Homeowner’s Reference Guide there is. Wait until the post rocks too, and you are into concrete work.
4. Check the hinge welds
Look directly at every weld point where the hinge meets the gate frame. You are looking for hairline cracks, rust staining that runs out of the weld, or paint that has flaked off in a thin line. A cracked weld does not always look like a broken piece of metal. Sometimes it looks like a dark line in the paint.
5. Check the hinge post itself
Stand behind the post and sight it against the fence line. It should be plumb, meaning straight up and down. If the top of the post leans away from the gate even slightly, the post has started to move. Sherman Oaks soil shrinks in our dry months, and that movement is what loosens posts.
6. Watch the gate close
Close the gate slowly and watch the latch. It should slide into the catch without you lifting or pushing down on the handle. If you have to lift the gate to make the latch catch, go back to item 2. That is sag, and it is only going to get worse.
7. Check the gate wheels (if you have a rolling gate)
A rolling gate rides on two wheels in a track. Look at each wheel. The wheel should sit flat on the track, not tilted. A tilted wheel means a worn bearing. Push the gate and listen. A rumbling sound is a bearing that is dry or shot. A scraping sound is a wheel that has worn flat on one side.
8. Inspect the track
While you are down there, look at the track itself. Debris collects in the track, and in Sherman Oaks, that debris is mostly decomposed granite from our landscaping and leaves from our oaks. A pebble the size of a pea in the track makes the gate jump every time it passes, and that jumping loosens motor mounts.
9. Check the motor mounting bolts
If you have an automatic opener, put your hand on the motor housing and try to rock it. It should not move. The bolts that hold the motor to its pad or post work loose over time, and a vibrating motor wears its own internals three times faster.
10. Listen to the motor through one full cycle
Open the gate, then close it, and just listen. A healthy motor makes a smooth, even hum. A motor that whines, grinds, or changes pitch mid-cycle is telling you something. A grinding sound in a Linear or Viking opener often means the gear is chewing itself up because the gate is binding somewhere.
11. Look at the concrete pad
Run your eye along the concrete where the gate swings. You are looking for a wear mark, a light grey line where the gate has been kissing the concrete, or a groove if it has been dragging. If you see a groove starting, the fix is still a hinge adjustment, not a concrete pour. Forget it, and you are writing the check Hal found that Sherman Oaks homeowner writing.
What Sherman Oaks Weather Does to Gate Hardware
Sherman Oaks sits in a specific climate pocket. We get hot, dry summers, wet winters, and then there are the Santa Anas. The Santa Ana season, typically October through January, is the single hardest thing on gate hardware in this city.
The Santa Anas come down through the passes and hit us with sustained 30 to 50 mile per hour gusts, sometimes higher in the canyons. For a gate, that wind is a fatigue machine. Every gust pushes against the gate panel, and every gust releases. Over the course of a single Santa Ana event, your gate can cycle through thousands of pressure changes. Each one flexes the hinges a microscopic amount. A hinged gate that weighs 150 pounds becomes a 300-pound load in a 50 mile per hour gust, and all that force concentrates on the weld points and the hinge bolts.
Here is what we see in Sherman Oaks specifically:
- Hinge bolts back out faster during wind season. The wind literally wiggles them loose. A bolt that was tight in September can be a quarter turn out by November.
- Weld cracks that were dormant all year open up. The repeated flexing works existing hairline cracks wider. If you catch a weld crack in October, it can be ground out and re-welded in under an hour. If you find it in January, the crack has often propagated into the frame tubing itself.
- Automatic gates get pushed open or closed by the wind, fighting the motor. When the wind pushes a gate closed while the motor is opening it, the motor draws more current. That heat degrades the windings. Ghost Controls and DoorKing openers both have overload protection, but the protection trips after the damage is already happening.
- Latch mechanisms get yanked. A gate that rattles in the wind is hammering its own latch. The latch plate loosens, then the latch tongue wears, and then you cannot get the gate to stay closed at all.
October is the right month for a pre-winter check in Sherman Oaks. Not November. By November, the Santa Anas have already started, and whatever was going to loosen has loosened. Run the full 11-point inspection in mid-October, tighten what needs tightening, lubricate what needs lubricating, and your gate will coast through wind season instead of fighting it. For Gate Repair Permits, Codes & Inspections in CA: What You Need to Know, check our guide before any major work.
If your gate is already showing signs of wind damage, this applies directly to Gate Motor & Opener in Sherman Oaks work, because wind-damaged gates tend to take their openers down with them.
The Four Lubrication Points Most People Skip
Most Sherman Oaks homeowners who do lubricate their gates lubricate one thing: the hinge where it squeaks. That handles the noise but misses the wear. Here are the four lubrication points that actually determine whether your gate lasts fifteen years or five, plus the one product that ruins more hinges than anything else.
The product that ruins hinges: WD-40
WD-40 is a water displacer and a solvent, not a lubricant. It functions fine for unsticking a rusty bolt, but when you spray it on a gate hinge, it washes out whatever actual grease is in there and leaves behind a thin film that evaporates in a week. The hinge runs dry, then it squeaks louder than it did before. So you spray it again, and the cycle continues until the hinge pin is galled and the hinge is shot. What actually works is a white lithium grease in a spray can, or a silicone-based lubricant for anything near the motor.
Point 1: The hinge pins
This is the one everybody knows, but most people do it wrong. Spray the top of the pin and let the grease run down. Then open and close the gate five times to work it in. One short spray, one cycle, is not enough. The pin needs to pull the grease down into the barrel of the hinge.
Point 2: The latch mechanism
The latch is a moving part that people treat like a static part. The tongue, the spring, and the catch all wear against each other. A dry latch means you have to slam the gate to get it to catch, and slamming a gate is how you loosen hinge bolts. Spray lithium grease into the latch body twice a year and work the latch open and closed a dozen times to distribute it.
Point 3: The gate wheels (rolling gates)
The wheel bearings on a rolling gate are sealed, which means you cannot grease them directly, but you can lubricate the axle where the wheel meets the bracket. A dry axle means the wheel stops rolling freely and starts skidding on the track, which flat-spots the wheel and grinds the track.
Point 4: The chain or belt (automatic gates)
A chain drive opener needs the chain lubricated, but you use a specific chain lube, not a general grease. A belt drive opener needs no lubrication, and spraying anything on the belt will cause it to slip and wear prematurely. If you have a belt drive and it is squeaking, the squeak is coming from the pulleys, not the belt.
How to Test Automatic Gate Safety Sensors in Under Three Minutes
Automatic gates in Sherman Oaks are required to have safety sensors, usually photoelectric eyes mounted on either side of the gate opening or a contact edge on the leading edge of the gate panel. These sensors are what stop the gate from closing on a car, a dog, or a child. They fail more often than any other component, and most failures are silent. The gate keeps working, the sensor just stops sensing.
Here is the test. It takes under three minutes and requires zero tools.
- Open the gate fully and stand out of the path.
- Press the remote or button to close the gate.
- Wave your hand through the photoelectric beam while the gate is closing. The beam is usually about a foot off the ground on both sides of the opening. If the sensors are working, the gate should stop immediately and reverse to the open position.
- If your gate has a contact edge rather than photoelectric eyes, tap the leading edge of the gate with the side of your fist as it closes. The gate should stop and reverse.
- Repeat the test from the other side. Sensors can be misaligned on one side and fine on the other.
What does a failing test look like before the motor burns out? Here are the warning signs we see on Ghost Controls, DoorKing, Viking, and Linear openers when the sensors are starting to go:
- The gate hesitates mid-close, then continues. This means the sensor is picking up a false signal, usually from sunlight hitting the receiver or a misaligned lens. The gate should never hesitate and then continue.
- The gate stops and reverses for no reason when nothing is in the path. This means the sensor is dirty, misaligned, or the wiring is chafing and throwing an intermittent fault.
- The gate closes, but the opener beeps or flashes a warning light for a few seconds after. This is the opener telling you the sensor self-test failed at the last cycle. It will keep working, but the safety circuit is already compromised.
- The gate closes faster than it used to. The opener slows the gate when the sensors are working and the force setting is calibrated. A gate that slams shut is often a gate with a dead sensor circuit and a motor compensating by running at full speed.
- Date
- What you checked (full 11-point, or just lubrication, or the sensor test)
- What you found (nothing, or a loose bolt you tightened, or a squeak you lubricated)
- What you did (lubricated hinges, tightened bolt, called for repair)
- Who did it (you, or the name of the gate company)
- Next check due (six months out)
- Spraying WD-40 on hinges to stop a squeak. It works for a week and then the hinge runs drier than before. Use white lithium grease, and if the squeak comes back, you have a mechanical problem, not a lubrication problem.
- Ignoring a gate that drags because it still opens. The gate drags because a hinge is failing. Fix the hinge and the drag goes away. Let it go and you are paying for concrete work as well as the hinge.
- Tightening a hinge bolt without checking the post. A bolt that keeps loosening is usually a symptom of a post that has started to move. Tighten the bolt a third time and you are just chasing the same problem while the post gets worse.
- Testing safety sensors once and then forgetting them. Sensors fail gradually, and a sensor that worked in April may be blind by October. Run the under three minute test twice a year on both sides.
- Lubricating a belt drive gate. Belt drives are built to run dry. Anything you spray on the belt shortens its life. That noise you are chasing is coming from the pulleys, not the belt.
- Waiting until the gate stops working before calling anyone. By the time a gate stops moving, you are usually past the hinge repair and into the motor replacement. The cheap repairs live in the moments when the gate still works but does not work right.
- Having a national outfit “replace” the gate when it just needed a hinge. Sherman Oaks is full of gates that got hauled off and swapped out because a company made more money selling a new gate than welding an old one. A gate sags in the hinge post, not in the middle, and most sagging gates need a hinge and a post, not a replacement panel. This is exactly the kind of work that fits Gate Installation in Sherman Oaks only when the old gate is actually done. Otherwise, repair first.
If you get any of these results, the sensor is failing before your eyes. The motor burns out later, because a motor that is slamming a gate closed is drawing more current and wearing its gears harder. Fix the sensor while it is a $125 service call, not a $900 motor replacement.
The Maintenance Log That Protects You When You Sell
Here is a Sherman Oaks-specific reason to keep a gate maintenance log: when you sell your house, the buyer’s inspector will check the gate. A gate that has a documented service history tells the buyer that the property has been cared for. A gate with no history and visible wear is a negotiating point that costs you money at the closing table.
But the log also protects you while you own the house. Gate openers have warranties. LiftMaster, FAAC, BFT, Linear, Viking, Ghost Controls, DoorKing, Elite, and Mighty Mule all publish maintenance requirements in their warranty language. If a warranty claim ever came up, the first thing the manufacturer asks for is proof of maintenance. Without it, you are arguing with a call center. With it, you have a piece of paper.
Here is a simple log format. You do not need a spreadsheet. A page in a notebook works, or a note on your phone. The point is that it exists in one place.
Gate Maintenance Log
Two entries a year is all it takes to build a paper trail that covers you. See our more guides & resources for other maintenance checklists. Sherman Oaks homes with automatic gates are seen as a security feature, and security features that have been maintained sell better than security features that have been ignored.
Common Mistakes to Avoid
When to Call a Professional
You can run this checklist yourself, and you should. But some findings are not DIY fixes. Call a professional if you find a cracked weld, a hinge post that is visibly leaning, a motor that whines or grinds, a sensor that fails the test from either side, or a gate that has ground a groove into the concrete. Those are repair-first situations, and the longer they wait, the more they cost.
Gatewood Fence & Gate offers free estimates in Sherman Oaks, and we fix the gate in your driveway rather than hauling it off. Hal will be there himself, or you can drive to the shop and look him in the eye. Call (818) 873-5061.
Frequently Asked Questions
A typical gate repair in Sherman Oaks runs between $150 and $600 depending on what has failed. Hinge tightening and lubrication is on the low end. Motor replacement is on the high end. If the gate has been dragging long enough to damage the concrete, the concrete repair is separate and typically adds $700 to $1,000. Call (818) 873-5061 for a free estimate on your specific gate, and the price is quoted and agreed before any work starts.
Twice a year is enough for most gates in Sherman Oaks. Run the full 11-point inspection in mid-October before the Santa Ana season starts, and again in April after the wet season ends. If your gate is on a canyon-facing property that takes more wind, run it quarterly, because the wind accelerates every failure mode.
A gate that sags because a hinge bolt is loose can be tightened with a wrench, yes. But a gate that sags because a hinge pin is worn, a weld has cracked, or the post has moved is not a DIY job. Tightening a bolt against a failing post buys you weeks, not years. Fix the panel without the post and you will fix it twice.
White lithium grease in a spray can is the best all-around lubricant for gate hinges and latches. It stays in place and does not wash out. Do not use WD-40, which is a solvent, not a lubricant, and will leave the hinge drier than it started. For chains on automatic openers, use a dedicated chain lube, and never spray anything on a belt drive.
Run the under three minute test: close the gate and interrupt the photoelectric beam with your hand, or if you have a contact edge, tap the leading edge as it closes. The gate should stop and reverse in both cases. If the gate hesitates, slams shut, or reverses when nothing is there, the sensors are failing. That is a $125 service call today and a motor replacement later if you ignore it.
Most gate repairs in Sherman Oaks do not require a permit. Hinge work, welding, motor service, and sensor replacement are all maintenance, not construction. A permit situation usually only arises with a new gate installation that involves structural posts set in concrete, or if you are changing the gate’s footprint. We can tell you on the phone what your specific situation needs. Call (818) 873-5061.
The Bottom Line
A Sherman Oaks gate fails in six predictable steps, and the first five are catchable with a 20-minute inspection twice a year. Run the 11-point sequence in October before the Santa Anas and again in April after the rains. Lubricate the hinge pins, the latch, the gate wheels, and the chain with the right products, and keep the WD-40 away from all of it. Test your safety sensors on both sides in under three minutes, and keep a written log of every check you run. A gate that is maintained for fifteen years costs less than one that is ignored for five, and when you sell your Sherman Oaks home, the log is your proof.
Written by Hal Gatewood, Owner at Gatewood Fence & Gate, serving Sherman Oaks since 2001.